Clear the Way to These Garden Path Ideas
You have a beautiful garden. Now it’s time to create an eye-catching garden path that will provide both functionality and aesthetic appeal to your garden. These garden path ideas are ones you can do yourself with a few helpful tips and tricks, and they’re sure to bring some added beauty to your garden.
1. Mix Materials and Stone Sizes
You can make a complex-looking garden path rather easily just by mixing together different materials with varying sizes of stones. The key to making this look work is by using one type of stone in different sizes and choosing another material to contrast the stone (source).
For example, a bright-colored mulch against a gray or beige stone helps break up the look of the stone. Adding in various stone sizes creates a fun, eye-catching garden path.
Lay down your stones in their final places first, adding your other material, like mulch or small pebbles, after. Use a broom or rake to move the smaller material into the spaces between the rocks to fill in the remainder of your garden path.
2. Create an Eye-Catching Feature Along a Path
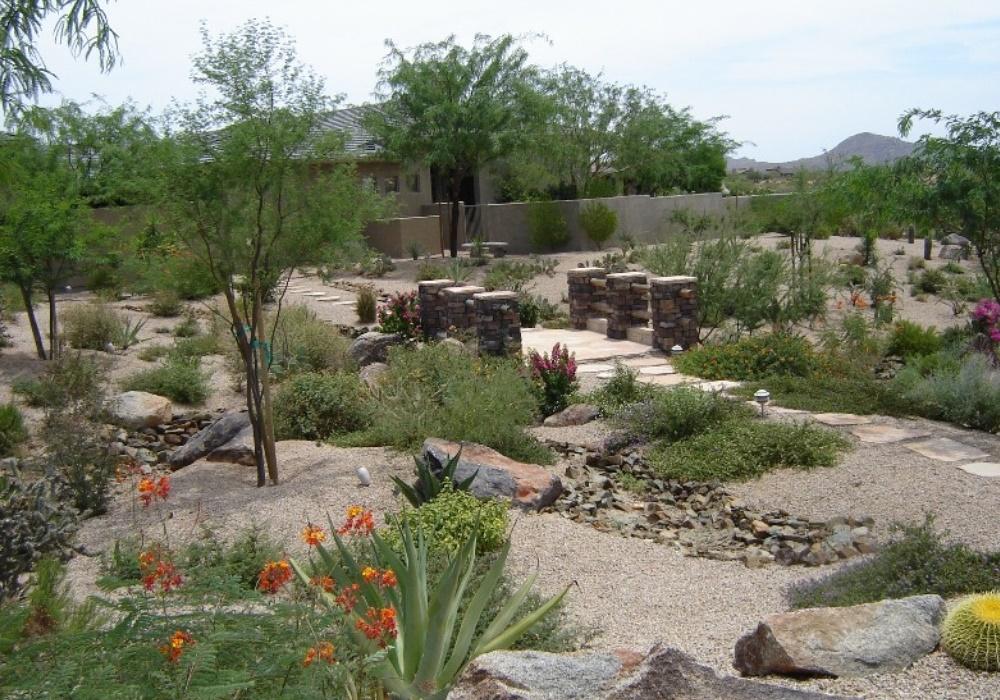
If you want your garden path to stand out as much as your garden does, you can create a beautiful feature along the path that fits within your garden and path theme. For example, if you have a stone path, use the same stones to make a small fountain near the center of your garden along the path. Or, for wooden garden paths, blend a small wooden footbridge into the walkway.
You can create a simple footbridge along your path that rests on the ground for an easy way to bring the aesthetic appeal of a bridge without a lot of costly materials and time. Lowe’s provides easy instructions for creating your own footbridge.
3. Use Foliage for Coverage
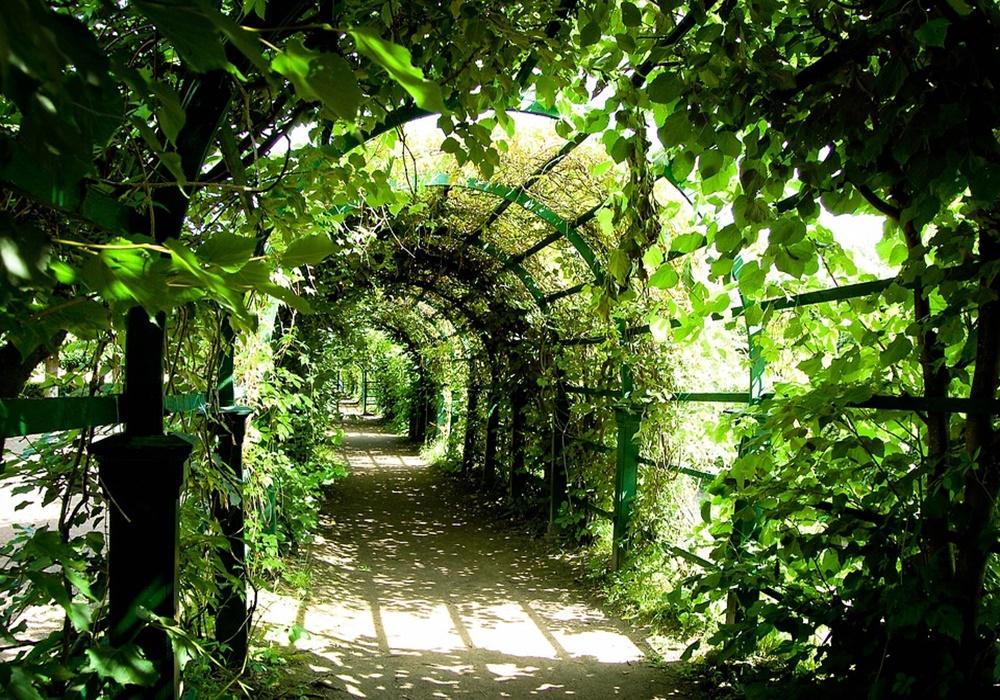
A good way to blend your garden path into the garden is to create a covered path with scaling vines and foliage. You can do this with a section or two of your path, or cover your full path in archways and foliage for a unique walk through your garden.
Arbors come in a variety of materials, like plastic, wood, and metal, which tend to increase in price, respectively. Choose a type to fit within your budget. Then, choose several climbing plants, like honeysuckle, wisteria, or Morning Glory, to begin the ascension over your arbors.
4. Create Geometric Patterns
If you’re not into a curved garden path, try one with a geometric pattern. Wood, brick, and pavers are good materials to use to achieve this type of garden path, as their sleek lines can be placed in a variety of ways to make eye-catching patterns.This particular type of garden path is one of the most unique because there are innumerable ways to create a one-of-a-kind path.
When you lay your material of choice in its final pattern, consider creating edging around the sides of your path. This will help keep your garden path materials from shifting over time from weather causing the soil underneath to move. Or, use brick and mortar to lessen the risk of your pathway moving or shifting (source).
5. Line it With Lush Greenery
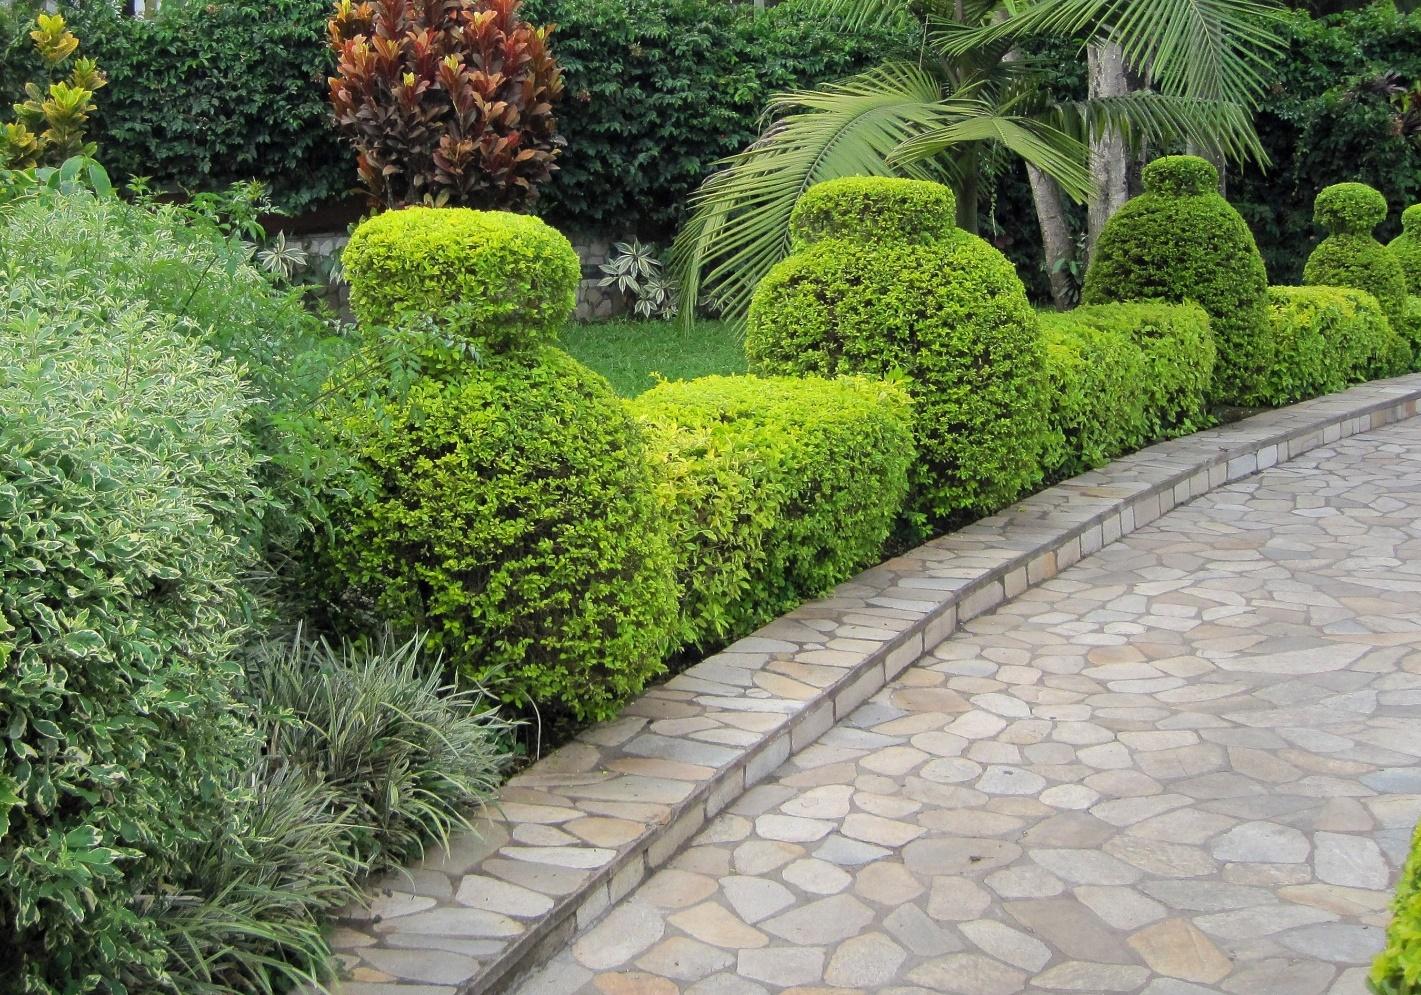
A good way to mark out your garden path is by lining it with beautiful, lush greenery, like shrubbery, small trees, or bushes. This can help blend your garden with your garden path for an excellent transition between the two, rather than making them separate entities.
Alternatively, you can do this with brightly-colored flowers or bushes to help your garden path stand out against a greener backdrop. Use garden pots to line sections of your path with shrubs in between to break up the green and create a more dramatic effect.
6. Give Your Path a Grand Entrance
https://youtu.be/w1jmOL2X9cQ
The first thing you and your guests will notice on your garden path is its entrance. To create a grand entrance effect into your garden the easy way, add a few trellises or arbors at the entrance, filled with pretty vines.
If you want to get more elaborate, make your entrance have a “Secret Garden” effect, complete with a tall fence with a large door. Or, plant tall shrubs or trees lined up at the entrance to naturally block the view to your garden. Add a free-standing gate or door at the start of your garden path for a true, grand entrance into your garden.
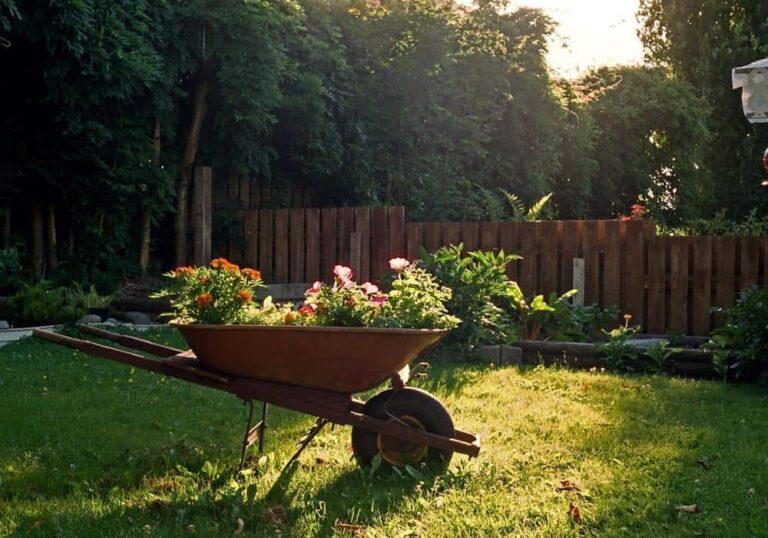
7. Make a Rest Stop Along the Way
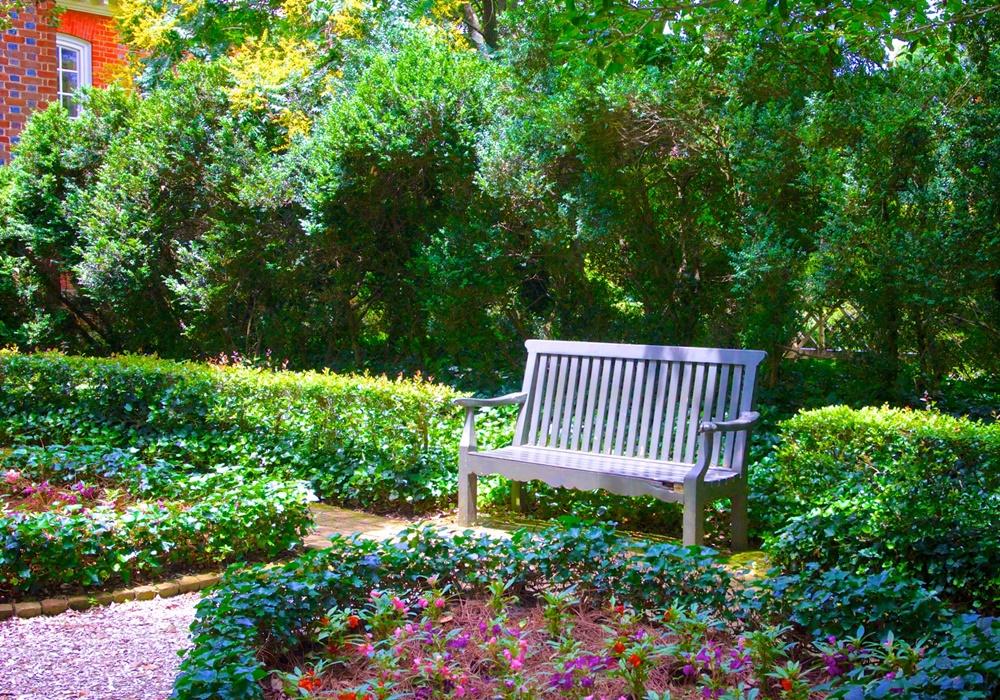
You have a gorgeous garden and you should enjoy it from different points within the garden. When you plan out your garden path, leave a few open areas to add a wooden bench, some decorative outdoor chairs, or even a large stone for seating.
Make it as simple, or as elaborate, as you want. Use two chairs placed on a corner of the garden path with a small table for a cozy outdoor nook. Or, plan for one large rest area toward the middle of your garden path with an outdoor sectional, small fire pit, and a table, to take in all the views.
8. Keep the Focus in the Center
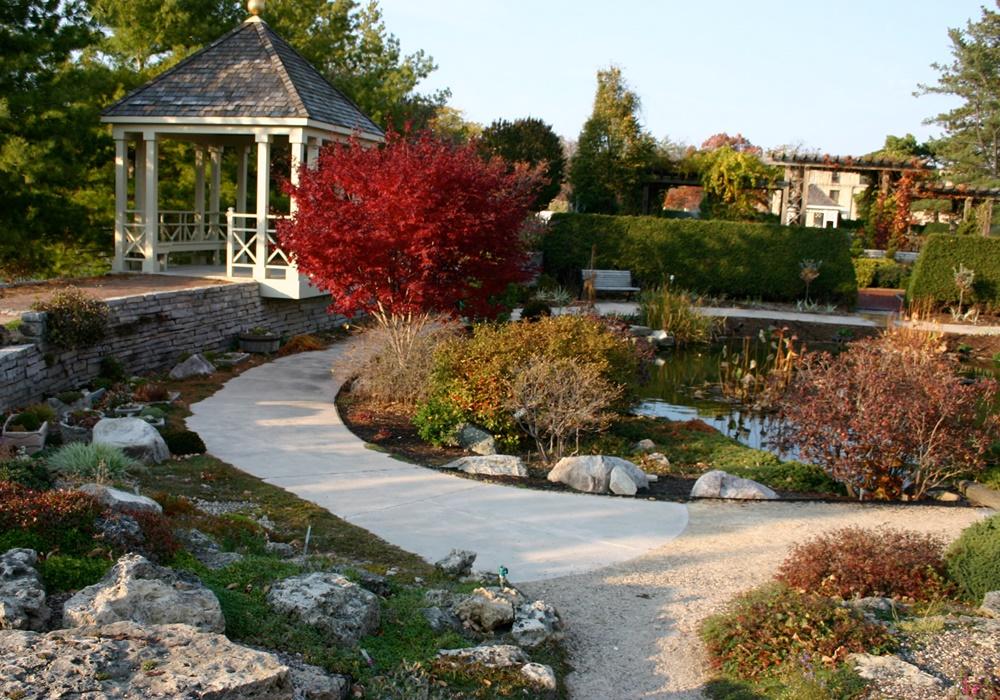
This garden path idea will likely need to be planned out before you begin your garden to get the full desired effect. However, using a circular path that winds around a center focal point of your garden can potentially give you the best views from every angle of your garden. Plus, it helps break up the usual lines of a garden and gives the eye a point to focus on (source).
Consider using a light-colored concrete or stone design that stands out from your plants and greenery. You want the center of your garden to stand out, but highlighting the path will also help draw your eyes to the center of your garden. The path should give you easy access to any point in your garden and allow you room to plant on either side to maximize your growing space.
Photo Credit
Photo by werner22brigitte licensed under CC0
Photo by stonescape licensed under CC BY 2.0
Photo by IgorShubin licensed under CC0
Photo by Lynn Greyling licensed under CC0
Photo by Ken Kistler licensed under CC0


Hello: Your orchid cactus is lovely and truly caught my eye.
Can you tell me what you do after the bloom is finished … do you cut it off right flush with the stem or at the finished bloom therefore leaving the spongy section attached to the stem.
Thanx for your response.