A New Strategy: Growing Potatoes in Straw
Although some gardeners experience less yield and more above-ground pests when growing potatoes in straw, its ease of planting and harvesting wins many over.
To grow potatoes in straw, prepare your seed potatoes by cutting smaller pieces with eyes to plant. Place them on top of the soil and cover with a thick layer of straw, ensuring that every potato is covered. Keep the straw moist, but not wet, and routinely check for weeds. Harvest your potatoes by gently pulling the plants from the hay.
Benefits of Growing Potatoes in Straw

Why do some gardeners choose to grow potatoes in straw? Mostly because it’s so simple! It eliminates digging and creates possibly the easiest gardening experience you can dream of. Some refer to this method of growing potatoes as the no-dig method because there is no digging necessary.
This video by Danial McCoy follows his no-dig potato project from start to finish, from the building of the potato bed to harvesting the potatoes, so you can see just how simple growing potatoes in straw can be.
Growing potatoes in straw also provides the following benefits:
- Growing in straw leaves less room for blemishes and scabs than growing them in soil underground
- Straw can help to reduce the soil temperature in warm climates (potatoes do best when not exposed to excessive heat)
- Weeds are not typically as problematic when growing potatoes in straw compared to soil
- Potatoes will be less prone to pests and diseases found in soil
- Since you don’t have to dig, you are less likely to get poked or sliced potatoes from gardening tools
- Straw mulch breaks down into organic matter to nourish your soil
Better Vegetable Gardening also explains that, when potatoes are grown in straw rather than soil, they need less frequent watering because the straw helps keep soil cooler and retain moisture. So, you’ll have less maintenance, in general, for potato crops grown in straw.
Disadvantages of Growing Potatoes in Straw
However, some gardeners believe that growing potatoes in straw doesn’t benefit them or the crop. One of the biggest disadvantages falls on those who prefer to plant their potatoes early in the season for early harvesting. When you plant potatoes in soil, they are more protected from late-season frosts. Straw doesn’t provide this extra layer of protection, so planting potatoes too early in straw can ruin your crop if you have a late frost.
Some other possible disadvantages of growing no-dig potatoes are:
- They can take a bit more time to start growing, up to two weeks longer than potatoes grown in soil
- Your crop is exposed to above-ground pests
- It’s possible that you yield less crop from growing potatoes in straw compared to growing in soil
- If you’re not careful about keeping your potatoes constantly covered by straw, they could be exposed to weather elements, like rain or excessive sunlight, that will ruin the crops
- Potatoes grown in straw can dry out more easily if you are not attentive to its watering needs
A study conducted by French magazine Les 4 Seasons du Jardin Bio had its readers experiment with growing potatoes the traditional way and in straw. The majority of respondents preferred growing potatoes in straw, despite its disadvantages, because it was easier overall.
Quick Tips for Growing Potatoes in Straw
Here’s another great overview before we jump into some tips:
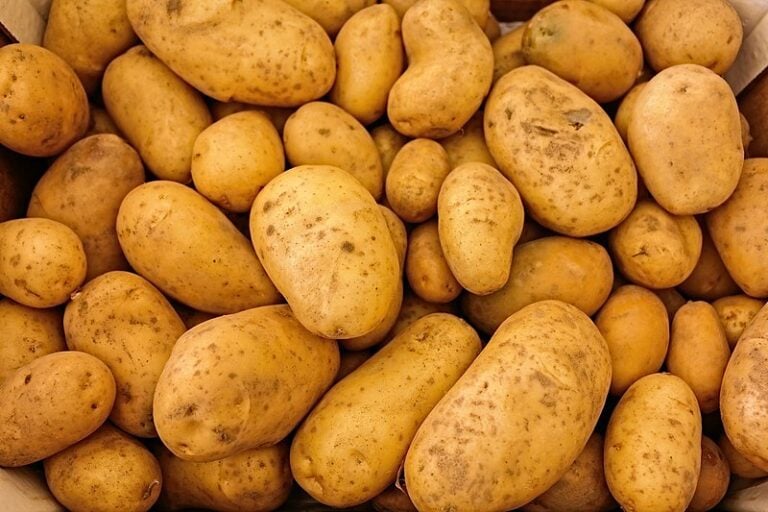
Preparing the Potatoes
To plant your potatoes in straw, you can use small, whole potatoes, or cut them into pieces about two inches large. Use only certified disease-free potatoes for planting. Each piece should have at least one eye, but the more the better. Allow your cut pieces to heal, or dry, for at least a day or so before attempting to plant them.
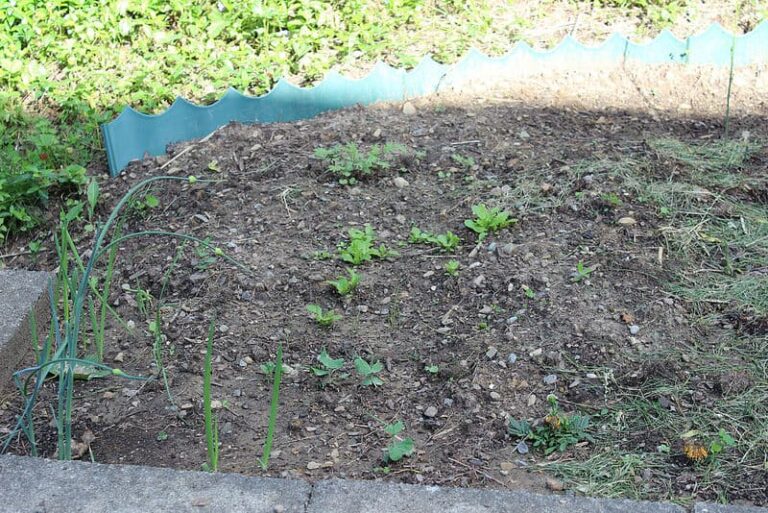
Preparing the Potato Bed
Before planting your potatoes, consider treating your soil with a safe, organic weed controller and a fertilizer. You may also want to add compost to your soil for added nutrients. Then, use a hoe or shovel to break up the soil and remove any weeds in the area you want your potatoes to grow. Loosening the soil will allow for better drainage and aeration for your crops.
Now, you can place your potatoes directly on top of the soil, no digging required! Space your potatoes at least 12-inches apart, and keep rows over a foot apart. Place at least two to three inches on top of your potatoes, making sure they are fully covered with no exposure.
Water the straw enough to make it damp, but not soggy. Then, cover the straw with mesh to prevent straw from blowing away in the wind.
Caring for Your Potatoes
Once your potatoes have been planted in the straw, it’s time for routine maintenance to your crops. Occasionally check for weeds and pull them as needed, although you shouldn’t see very many when you grow potatoes in straw.
Keep your straw moist, but not wet. Moist straw will provide your potatoes with a continuous water supply without excessive amounts of moisture.
Once plants begin to sprout through the straw, remove the mesh to allow for further growth. You can keep your straw in place with grass clippings from now on.
When you begin to see good sprouts of about four to six inches, you’ll need to mound your potatoes with more hay to prevent them from becoming exposed. Continue to keep straw watered and consider using a fertilizer for added nutrients to your crops.
Harvesting the Potatoes
You can harvest some potatoes early, if needed, once your sprouts begin to flower. They may not be fully mature, but they’re usually mature enough to eat. Or, wait for the vines to completely die off, which is a sign of full maturity.
Harvesting your potatoes from straw couldn’t get much easier. Carefully pull away the straw, being cautious not to tangle up the straw in your potatoes. Usually, you can reach into the straw and pull your potato plants out easily. Gently pick the potatoes from the plant and enjoy!
Photo by J.H. Fearless licensed under CC BY 2.0.