Quick Tips for Growing Watercress
As long as it has an ample, continuous water supply, watercress grows well with little maintenance. Begin seeds indoors using small pots in a large container filled with water. Plant seeds in the smaller pots about 3 to 4 inches apart. Once your seedlings are a few inches tall and begin to grow leaves, transplant them to your garden. Use an underground watering system or create your own stream with pipes and pebbles. Harvest watercress in the spring to encourage new growth, and again in the fall when plants are established.
Beginning Watercress Seeds Indoors
You can begin growing watercress from seeds or from store-bought watercress stems. Growing watercress from seeds, however, is one of the easiest ways to get a head-start on the plant before transferring to your garden. Begin growing seeds several weeks before the last spring frost in your region.
Beginning seeds indoors will help them grow into strong seedlings before transplanting them to the garden. They’ll be more likely to withstand threats of frost or other harsh weather conditions.
To begin growing watercress seeds indoors, you’ll need small clay pots and a larger container for them to fit inside. Watercress needs a steady stream of water, so your larger container will hold water for the watercress seeds in the smaller pots.
Potting soil mixed with lime is the best for watercress seeds. At the bottom of each small pot, add some pebbles to help keep soil in place with the watering system. Fill the larger container with a few inches of water, enough to cover the bottom of the smaller pots. Set the smaller pots inside.
Place your water garden in an area with plenty of sunlight. Allow enough time for the soil in each pot to soak up the water and become moist. Plant seeds about an inch into the soil, 3 to 4 inches apart.
Check water level frequently in the large container, always keeping it full enough to cover the bottoms of your small pots. Give the garden fresh water every couple of days. Keep them indoors until you see a few inches of growth and stems begin producing leaves.
Groherb Harps shows an alternative system for keeping a constant, streaming water supply flowing to your watercress:
Transplanting Watercress to the Garden
Watercress is a finicky plant in that it needs a steady stream of water. You need to have a strategy in place before transplanting watercress to your garden to ensure that your plants will get plenty of water, just like they did when you were germinating your seeds.
In the garden, you should have long furrows for your watercress, about 6 inches wide. Fill with about 2 inches of composted soil or peat moss. Mix in composted organic matter to the remaining soil.
You will need either a running stream of water to your watercress bed’s soil or create your own stream with piping and pebbles. Also, make sure your watercress bed has plenty of sunlight for the majority of the day.
Carefully transplant your seedlings into your garden, placing them about 6 to 8 inches apart from one another. This should be done in the spring, after the threat of frost has passed.
Caring for Watercress in the Garden
As long as your water supply is sufficient, watercress does not need a lot of maintenance. In the winter, however, you’ll want to ensure that your water supply doesn’t freeze. If needed, shut off the water supply and mulch around your watercress plants to retain moisture and keep the soil at an adequate temperature. As soon as the threat of frost has passed, begin starting up your watering source again.
Keep your garden beds free of weeds. You should also check your plants for signs of nutrient deficiency, which will cause plants to wilt or discolor. If this is an issue, look for a fertilizer with added phosphorus, iron, or potassium, and use it a few times through the season.
Preventing Common Watercress Pests
Watercress is especially prone to certain pests, like snails, whiteflies, and spider mites that enjoy the extreme wetness that watercress thrives in. Snails can devastate watercress plants by chewing through the leaves. Fortunately, you can control snails in a number of ways, including setting out a shallow pan of beer overnight to attract and drown them, or allowing small garden snakes to prey on them.
Spider mites and whiteflies can both stunt the growth of your watercress plants and kill them off. Both pests can be controlled naturally with predators, like ladybugs. However, if you don’t naturally have ladybugs or other predators in your garden, you’ll have to use other methods.
To control whiteflies, place a reflective object, like foil or a broken CD, around the plant to deter them. Most whiteflies are resistant to insecticides, but neem oil may help control them. Neem oil is also an effective way to prevent further spider mite infestation, or you can use a miticide.
Harvesting and Storing Watercress
You can begin harvesting watercress once you have established seedlings at least three weeks old. This typically occurs in the spring, and this is when the plants reach their best flavor. You can continue harvesting until flowers appear on the plant, which happens a few weeks later.
Allow your plants to grow through the summer, when new growth will appear where you trimmed in the spring. By fall, you should have more established plants and you can begin to harvest again. Cooler temperatures are the best time to harvest watercress for full flavor.
Its best to only harvest the watercress that you need for the same day, since it can lose its flavor quickly. Using clean kitchen shears, clip the stems you want to harvest, leaving at least 4 inches of the stem on your plant. Keep them in clean water as you harvest so they’ll stay crisp until you’re ready to use them.
You can also dry your harvested watercress stems and place them in a plastic bag in the refrigerator for up to one week.
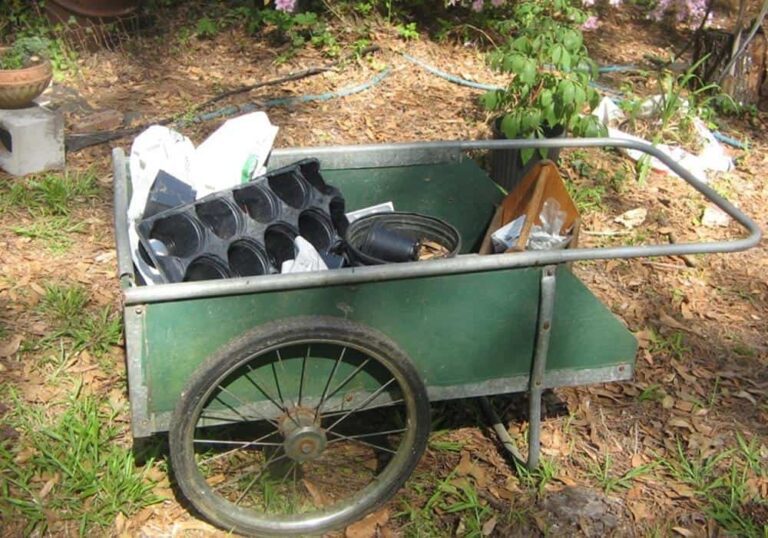
Photo by Wendell Smith licensed under CC BY 2.0