How To Propagate Peace Lilies In Under 10 Minutes
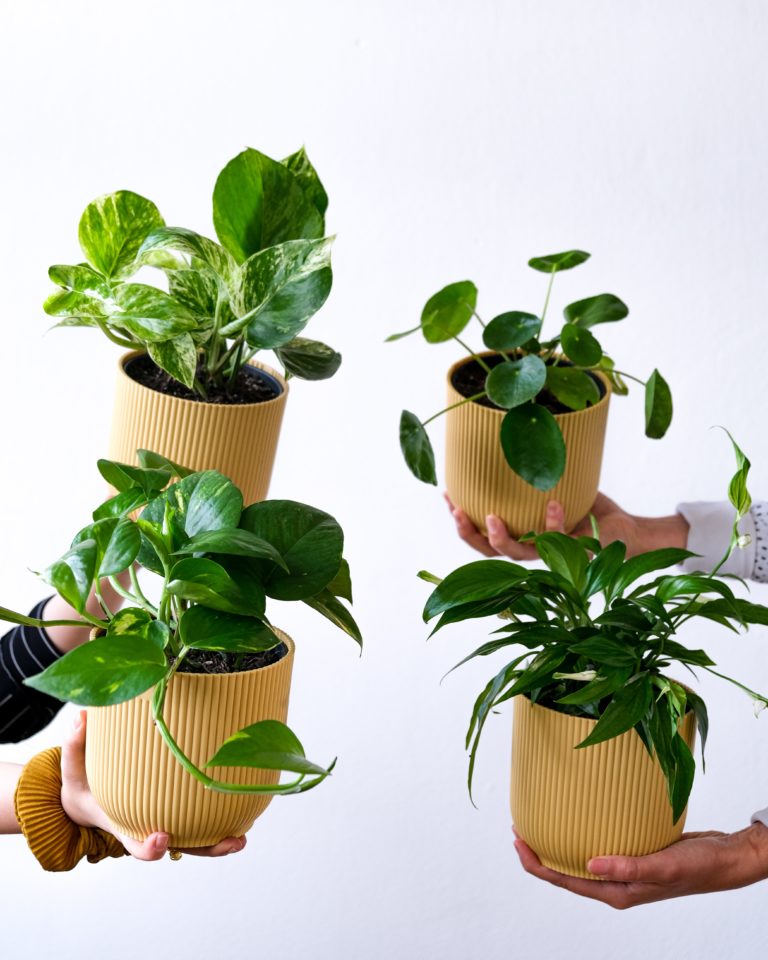
The Peace Lily is an exceptional tropical plant that adorns thousands of offices and living rooms worldwide.
Their dark glossy green leaves fuse well with the exquisite white blossom that highly contrasts the entire plant.
These plants often grow big for their potted plants, and you will notice the need to keep repotting it into bigger and bigger pots.
As they are hearty to grow, you can quickly propagate these plants to grow many Peace Lilies just from a single plant. So the next time you are repotting this beaut, carry the below-mentioned steps to fill your space with more plants that too for free!
Step-By-Step Guide To Propagating Peace Lilies
These herbaceous plants cannot propagate through leaf cuttings or the usual stem cuttings. You can propagate these plants with either seed division or clump division.
The former will undoubtedly take a long time to grow, but the clump division method ensures rapid growth since the plant has already done the germination process. By this method, you can propagate Peace Lilies in under 10 minutes.
Material Needed
- A healthy grown plant with crowns
- A knife or pruning shears
- Newspapers or tarp to keep the area clean
- Small pots
- Potting soil
- Water
Directions
Checking for the crowns
A mature plant produces numerous baby clumps. Peace Lily does not grow from a stalk or truck; a new plant directly starts from the root system.
The growth is always vertical and not horizontal. As these new roots grow, they develop into a new plant of their own. Remember to use the mother plant’s clumps to propagate. You cannot produce another plant from a baby clump itself.
A mother plant is easily recognizable; it will be the largest plant in the pot surrounded by tiny clusters (kids). After you identify the mother plant, you can inspect the number of clumps you have. If there are more than 5-7, then you are ready to go.
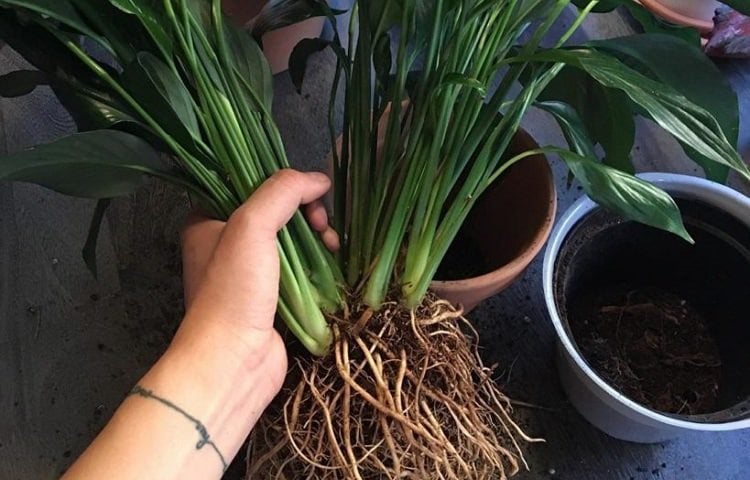
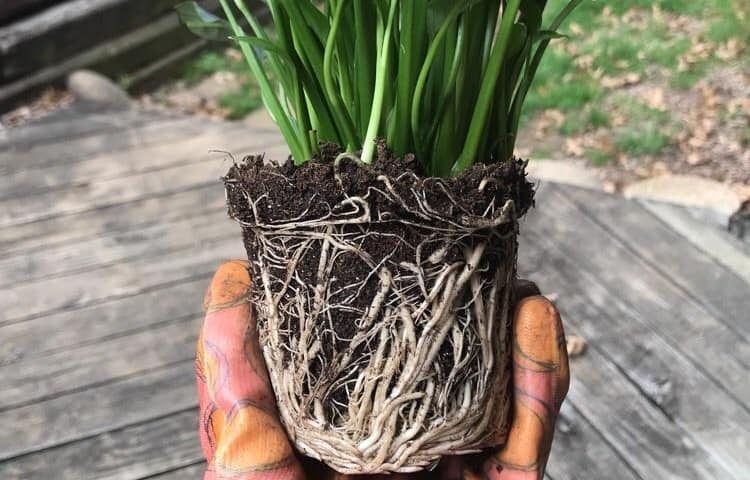
Removal of the root ball
Put your pot on a piece of paper or tarp and turn the pot to one side. Hold the base of the foliage and yank it with little pressure. Make sure to pull it out gently, as harsh pulling can damage the plant.
The pulling action will quickly remove the plant from the pot. If you aren’t able to pull it out, turn the plant upside down and hammer the pot’s base, it should slip right off.
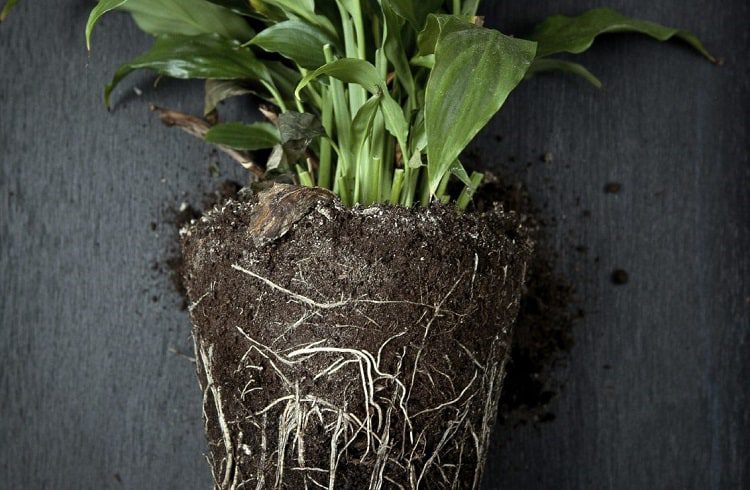
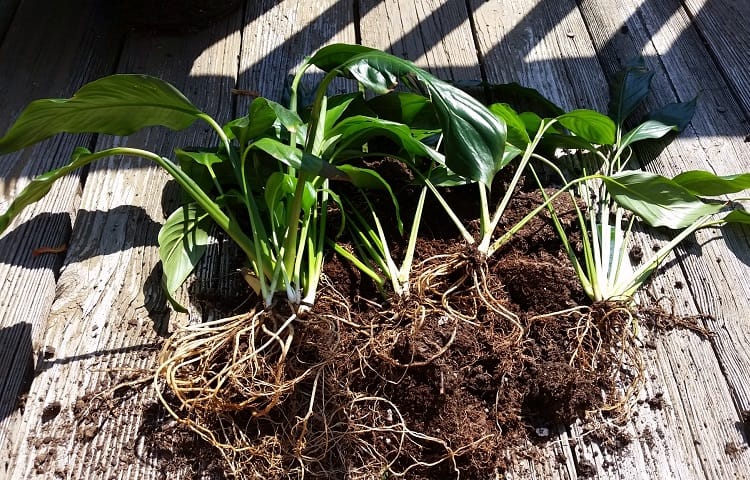
Separating the clump
Separating the clump is the most critical and technical part that needs a little concentration to complete. After the pot comes loose, you will see an intricate web of roots interlocked with each other.
Use your hands or brush to wipe off the excess soil, and you will see the bunch of roots, usually in the shape of whichever pot you used. You have to identify the root system of the baby clump from the mother.
You will find a single root connection between the offshoots and the mother. After seeing the link, cut it with the help of a knife or with your hands. As they are heavily intertwined, you might need to maneuver the tiny shoots so they come out of the bunch unharmed.
Avoid taking out the clumps with an underdeveloped root system with only a few leaves. Look for a sound root system with at least 4-5 leaves. You can remove 3-4 clumps from an average plant. If your mother plant has many offshoots, get as many as you can.
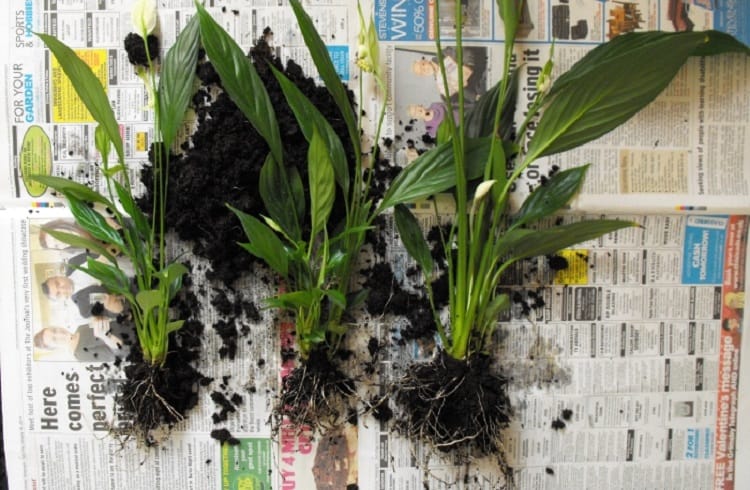
Preparing and potting the clumps
After the separation, both your mother and the baby plant are ready to pot. Remove the excess, loose and dead roots from the system and cut the dead leaves of the mother plants.
Plant the mother and the baby in different pots but use the same potting mix. You could change the mix if the previous one weren’t working for the plant. The mother and the baby plant will surely suffer from the transplant shock.
Your plants would droop down, and leaves might fall off but do not try to compensate this with extra water; excess water will surely ruin and rot the root system. The plant will come back to its normal position within few days.
Post propagation care
Avoid keeping the plants in the shade or direct sunlight. Direct sunlight can immediately scorch your new plants. Partial sun is highly recommended.
Give them a hearty shower once and let them grow for three months; you will see that the mother plant already has started producing more shoots, and the individual babies are growing relatively healthy.
Once the babies fully grow, they will then begin producing offsprings. Avoid over propagation; if you keep doing this process every month, there are high chances of the mother welting and dying.
FAQ related to propagating lilies
How do Peace Lilies reproduce?
Peace Lilies reproduce by two methods; one is the clump division, where the plants grow pretty quickly, and the other is by sexual propagation with the use of seeds.
When you produce Peace Lilies from the seeds, they seldom look like their parents. They would usually have a different shade and spot structure than their parent. If you wish to have a baby that looks like the mother, we highly recommend clump division, and if you want to experiment, then try the seeds propagating.
Before you start with seed propagation, remember that the seed process is prolonged, and you need to have patience. You can either buy the seeds online or harvest them.
Harvesting Peace lily seeds
You can only harvest the seeds if the plant’s flowers bore fruit or have been fertilized earlier. Use a neatly sterilized knife and cut the spadix for access. Gently remove the seeds and place them on a soft paper towel.
After removal, you need to prepare your seeds for sowing. These seeds are highly susceptible to damping off, a plant disease caused by pesky soil-borne pathogens. This damping-off can rot the seeds, so you need to use a good quality germination mix instead of regular soil to save it.
These mixes have a good quantity of sand, perlite, peat moss, and other healthy non-soil ingredients. Put the seeds on top of the germination bed and cover them with a light layer of the mixture. Avoid burying them too deep; a light layer usually suffices.
Cover the germination pot with a plastic bag to keep it humid; you won’t need to add more water from now on. If you have planted the seed properly, it will grow into a nice seedling in 10 days.
Are Peace Lilies self-pollinating?
Unfortunately, no, Peace Lily flowers cannot self-pollinate. The fundamental reason for this is that the Peace Lily’s female organs are more active than their male counterpart.
Their pollination process is mainly done via bees, flies, and beetles attracted to the lily flowers because of their color.
Can you take a cutting from a Peace Lily?
Yes, you can, but there are zero chances of propagating through the cuttings. You will waste a leaf in this process.
But there are other ways to multiply, one is via seed germination, and the other is clump propagation. Remember, plants that start with seed germination take years to flower.
Can you propagate a Peace Lily in water?
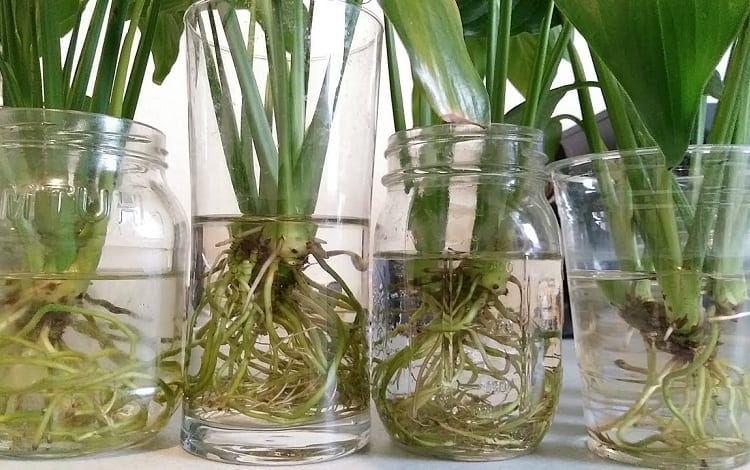
Surprisingly, Peace Lilies can also grow in water. To set up the plant in an ideal water setting, you need to suspend the base of the plant above your pot’s waterline.
This suspension will allow the roots of the water lily to grow in the water. The water positioning will ensure that the plant base and leaves arent dipped inside the water, which can cause rotting.
When can I split my Peace Lily?
You can split your magnificent Peace Lily soon after the plant outgrows the old pot and has many healthy roots and various baby clumps.
Do not remove the plant to split if there are very little to no offshoots; this will shock your plant, and the process would not be fruitful. Start breaking when the plant looks fuller with lots of clumps.
We highly recommend splitting during the growing season as the plant gets lots of time to adjust before the winter sets in!
Conclusion
We hope our step-by-step instructions were helpful to you. A little precision during the separating process will give your excellent results.
If you follow this method with all the little tips in your mind, you can have many thriving Peace Lilies to gawk at.
You should be aware of one thing: Peace Lilies are toxic to animals, they are mildly harmful to humans, but you should be careful when dealing with pets.
If you have a feline at your home, make sure they do not ingest any part of the plants. Severe symptoms from lily poisoning can include vigorous shaking of the head, excess salivation, and repeatedly pawing on the floor.
Apart from the toxic characteristic, they are susceptible to chemicals themselves. Tap water containing a high amount of fluoride causes browning of the tips. We recommend using room temperature filtered water.