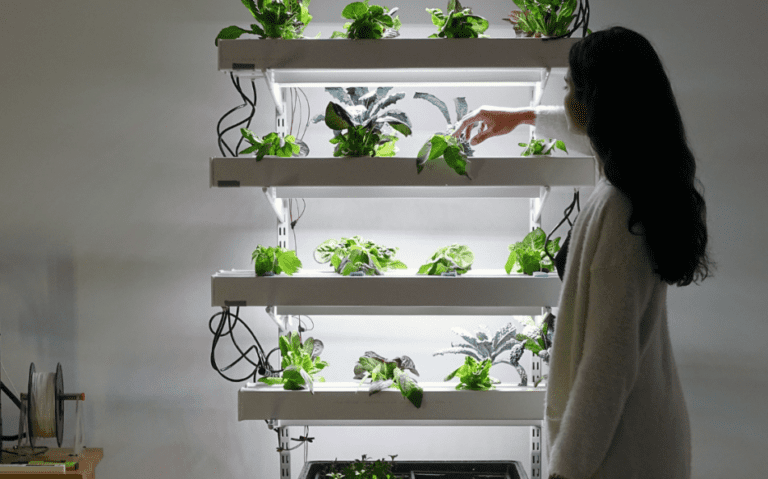
How to Start Your Hydroponics Indoor Garden
In this article, you’ll get to know how to start growing fresh, healthy, and nutritious vegetables and plants at your home in some simple steps with a hydroponic kit.
1. Choose the plant you want to grow in your garden:
Selecting one plant for your home garden can be a bit hard for you to choose, but you don’t need to worry as you can select numerous. Brassica crops have almost the exact nutrient requirement, and there are leafy vegetables to choose from too.
Swiss chard, lettuce, broccoli, kale, and spinach; there are many more vegetables and plants that you can select for your home hydroponic system.
2. Select the most suitable hydroponic system for your crop category:
The most common crops grown in hydroponic gardens are leafy vegetables, and an NFT hydroponic system is most appropriate for them. To grow vine or fruiting vegetables, you should choose the Dutch bucket type of hydroponic system. We will also explain at the end of this article what kind of hydroponic systems you can choose from for ease.
3. Get nutrient solutions:
Starting plant seeds is one of the most vital steps in hydroponic gardening. Using a concentrated nutrient mix can harm the undeveloped seed. Using a well-prepared dilute nutrient mixture can keep them from potential damage. Premade mixes of nutrient solutions are readily accessible in the markets, which you can use for starting seeds.
Gently place the seeds into the growing medium in a tray or container which holds all the seeds in one place and offers a micro-environment for proper growth. Then place them all close to a light source and provide the nutrient solution you prepared.
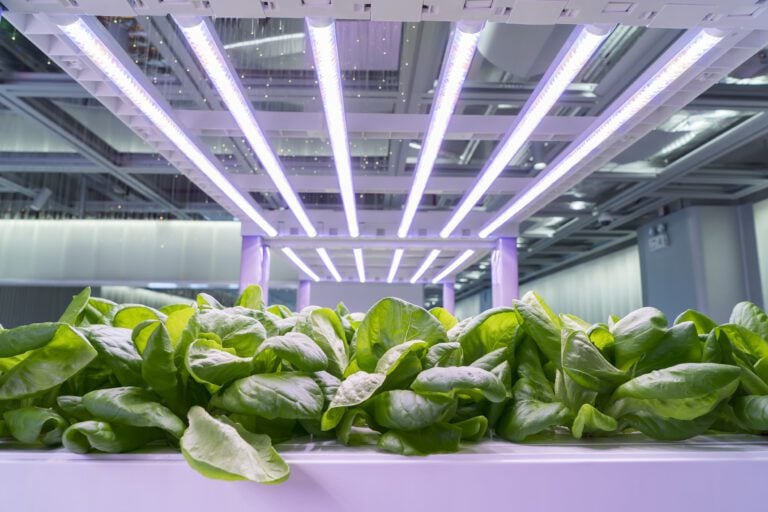
4. Choose a light source:
Proper lighting is a significant factor in the achievement of your hydroponic garden. If you’re not using sunlight as your source of light, you have to select a grow light for your system. There are many to choose from, and each has its advantages and disadvantages. Research to find out what the most suitable light might be for your plants and your hydroponic system.
While selecting the growing lights, you must consider their costs, intensity, coverage area, and light spectrum.
5. Prepare the hydroponic system for operation:
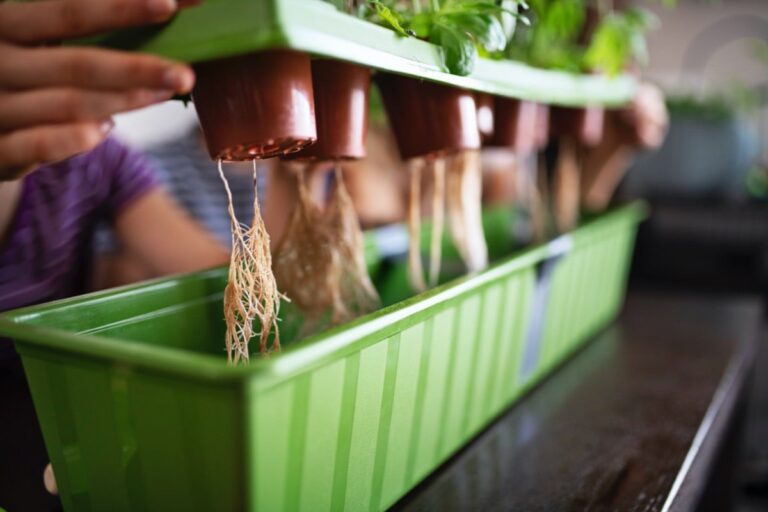
After two to three weeks of proper light exposure and nutrient supply, the roots start to show. Keep in mind that all the plants have different sprouting periods. It is time to start your system and prepare it to welcome the young saplings.
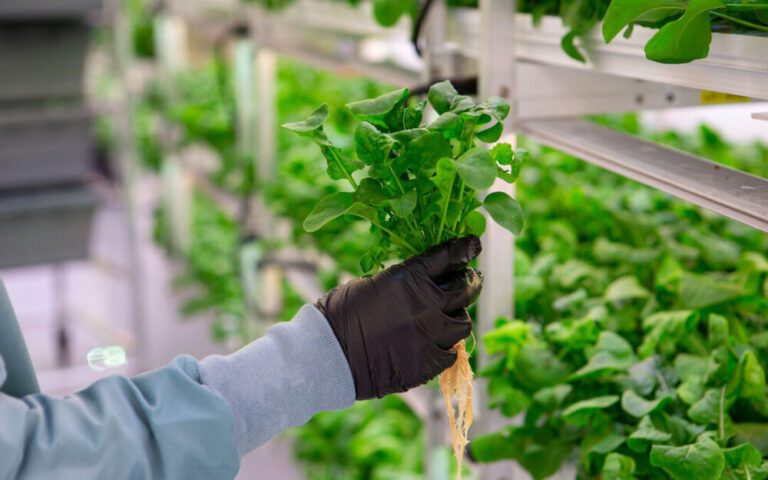
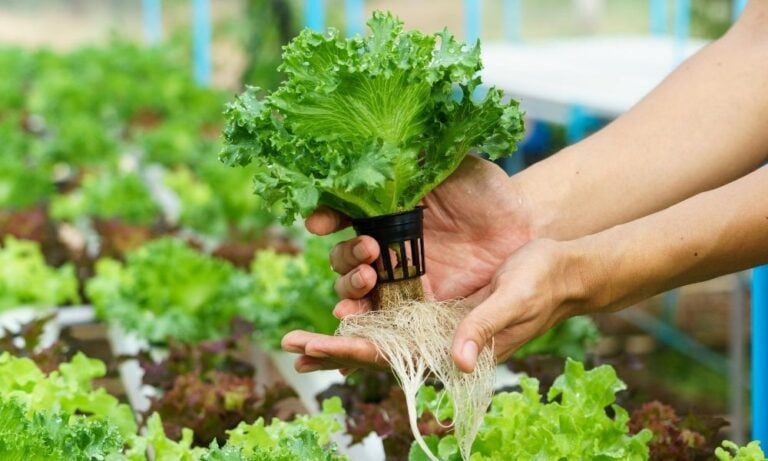
6. Relocate the developed seedlings into the system:
For transferring, take the entire tray of the attached seedlings to it and place them into the net containers. The net beakers fit in the growing outlets of the hydroponic system. Add some growing medium to reserve the moisture for the developing plant roots.
7. Turn the hydroponics system on:
After everything is set in place, it is time to start the hydroponic system. Schedule a timer for water and nutrient supply. Check the water and nutrient flow inside the growing channels and ensure that it is adequate for plants to absorb the nutrients.
After completing all the steps, you can relax and let the system do your hard work.
Types of hydroponic systems:
We will discuss six main types of hydroponic systems in this article.
1. Wick System
The wick system is the simplest type of hydroponic method that you can use to develop plants, which means that practically anyone can utilize it. You won’t need extensive knowledge or skills to make it work properly. The wick system is noted for not using electricity, aerators, or pumps. Moreover, it’s the only hydroponic system that doesn’t require electricity. Most wick systems include placing the plants directly within a porous substance like vermiculite or perlite. Nylon wicks are arranged around the plants before they are sent into the nutrient mix.
If you’re contemplating using a wick hydroponic system to grow your plants, you need to know that the simple nature of this system indicates that the plants cannot obtain a substantial amount of nutrients. As such, the system is idyllic for herbs and small and garden plants. Plants that don’t require ample water will produce well in this specific system.
Although this system is fantastic for smaller plants, you’ll have to avoid growing plants like tomatoes and peppers. They are considered heavy-feeding plants, requiring more nutrients than the wick system can deliver.
Another negative feature of this growing system is that nutrients and water aren’t absorbed evenly, which can lead to the buildup of deadly mineral salts. If you use this system, ensure that you drain any extra nutrients with fresh water every couple of weeks.
2. Water Culture:
A water culture method is another extremely simplistic hydroponic system that positions the plant’s roots directly into the nutrient mixture.
Although the wick system places particular materials between the water and the plants, the water culture system avoids this barrier. The oxygen the plants require to survive is sent into the liquids by an air stone or a diffuser. If you use this system, remember that the plants should be appropriately positioned with net vessels.
The best feature of this system is that the roots are positioned directly into the nutrient mixture, so the plants readily absorb the nutrients. Because of the direct access to oxygen and nutrients, plants grown by the water culture method will develop rapidly. Another benefit of the water culture system is that it’s effortless to create and works well with any plant. Even large plants with extensive foot systems will grow fast with this method.
The only potential problem with the water culture system is the occurrence of root diseases caused by dirty growing situations.
3. Ebb and Flow (Flood and Drain):
The Flood and Drain system is another standard hydroponic system that home gardeners mostly use. With this system, the plants are placed in a large grow bed filled with a medium like perlite or Rockwool. Once the plants are carefully embedded, the grow bed is submerged with a nutrient-rich mixture until the water reaches a couple of inches underneath the growing medium’s top layer, ensuring that the nutrient mix doesn’t flood.
The water pump that overflows the grow bed is prepared with a timer that switches the pump off after a specified time. When this happens, the excess water will be drained from the grow bed and directed back into the pump. This system has been efficient for growing nearly all kinds of plants, including certain root vegetables like radishes and carrots.
However, we suggest you don’t use huge plants with an ebb and flow system. Because of how much area the plants will need, you might be unable to fit enough of the nutrient solution and grow medium into the bed with larger plants. The critical issue with the ebb and flow hydroponic system is that the pump control can fail, which can halt operation until the pump is replaced or fixed.
4. Drip Systems:
A drip system is another easy-to-use hydroponic arrangement that you can quickly tailor for different types of plants, which makes it great for any gardener or farmer who plans to make regular alterations. The nutrient solution utilized with a drip system is propelled into a tube that sends the solution directly to the plant base. At the end of each pipe is a drip emitter that controls the amount of solution to be placed in the plant. You can regulate the flow to meet the requirements of each plant.
These systems can be as large or small as you want. They can also be non-circulating or circulating systems. A circulating system will trickle almost continuously. Any excess nutrients will be returned to the tank that stores the nutrient solution. Since you can freely alter the flow rate and size of this hydroponic system, it can be operated to grow nearly any plant you want.
If you choose to use a circulating system, the main issue you’ll encounter is that you’ll need to constantly maintain the fluctuating pH and nutrient levels that occur when the mixture is recirculated.
5. Nutrient Film Technology – N.F.T.:
The N.F.T. system has a straightforward design but is mainly used because of how well it balances a variety of specific applications. The nutrient mix is placed into a large tank when you use the N.F.T. system. From here, the solution is sent by a pump into sloped canals that allow the extra nutrients to flow back into the tank. When the nutrient solution is pumped into the outlet, it flows down the incline and over the plants’ roots to provide the correct amount of nutrients.
We highly recommend that you use net containers with this type of hydroponic N.F.T. system. In many cases, the N.F.T. system won’t need a growing channel. Since the mediums used with this system are moderately small, we suggest you pair them with plants with lesser roots.
Although this system can’t graciously accommodate larger plants, it scales well, meaning you can tailor it to allow for the development of a large number of plants simultaneously. Since it balances well, home growers and commercial farmers commonly use the N.F.T. system.
6. Aeroponic Systems:
Aeroponic systems are easy to understand but somewhat challenging to construct. With this kind of system, the plants you want to grow will be hung in the air. A couple of vapor nozzles are placed below the plants. These nozzles spray the nutrient mix onto the roots of the plants, which has been recognized as a very effective and efficient hydroponic method. The mist nozzles are directly connected to the water pump. When the pressure rises in the pump, the mixture is sprayed, with the excess falling into the basin below.
As long as you use the correct measurements for the reservoir, you can produce and cultivate nearly all types of plants by using this aeroponic system. However, the tank needs to be exceptionally deep if you plan to grow larger plants. Otherwise, the mist nozzles might not be able to reach all of the roots. Since plants with such a system are hung in the air, they get all the oxygen required.
This system also uses less water than the other hydroponic systems, which is excellent for efficacy. However, there are a couple of problems with this system. They can be expensive to build. The nozzles that shower the nutrients onto the roots of the plants can also become clogged, which can be annoying to clean.
Variations of the Primary Hydroponic Systems:
All other hydroponic systems are variations of those mentioned above six central systems. You may have seen these systems but don’t know their names or where they come from. Let’s have a look at these variations:
Dutch Bucket
Dutch Bucket System is an Ebb & Flow variation. Several containers are placed on the floor or a bench. Each bucket must contain one plant. An enormous reservoir or basin holds the nutrient mixture, pumped through the irrigation lines, and dropped onto the plants through emitters. The excess nutrient and water solution can return to the tank through the drain line or is drained out of the system.
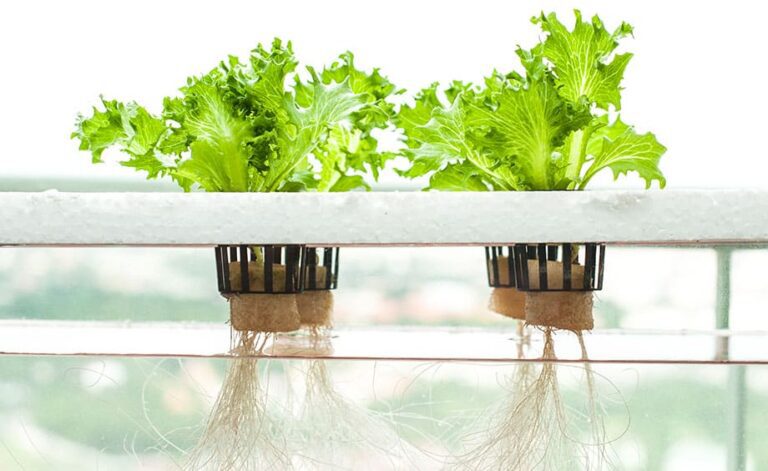
The Kratky Method
The plants are placed in a net container hung by a hanging platform. Parts of the roots are immersed in the water while the rest are bared to the air. As the plants grow, the water level decreases with time, leaving an air region for the plant roots. It is a detached system.
The Kratky method is a variant of the Water Culture system. The difference is that the Kratky does not need electricity to run. So no pump or timer is used. The Kratky requires slight care and maintenance. It is also not costly. That makes it one of the most straightforward systems to set up, suitable for hobbyists, starters, and even children.
Fogponics
Fogponics is an aeroponics variation. A fogger, connected to a timer, is used to transform the nutrients and water from the container into extremely tiny droplets of fog or vapor. Plant roots are suspended freely in the air with sufficient access to oxygen. They get nutrients and moisture through the wet atmosphere due to the fog.