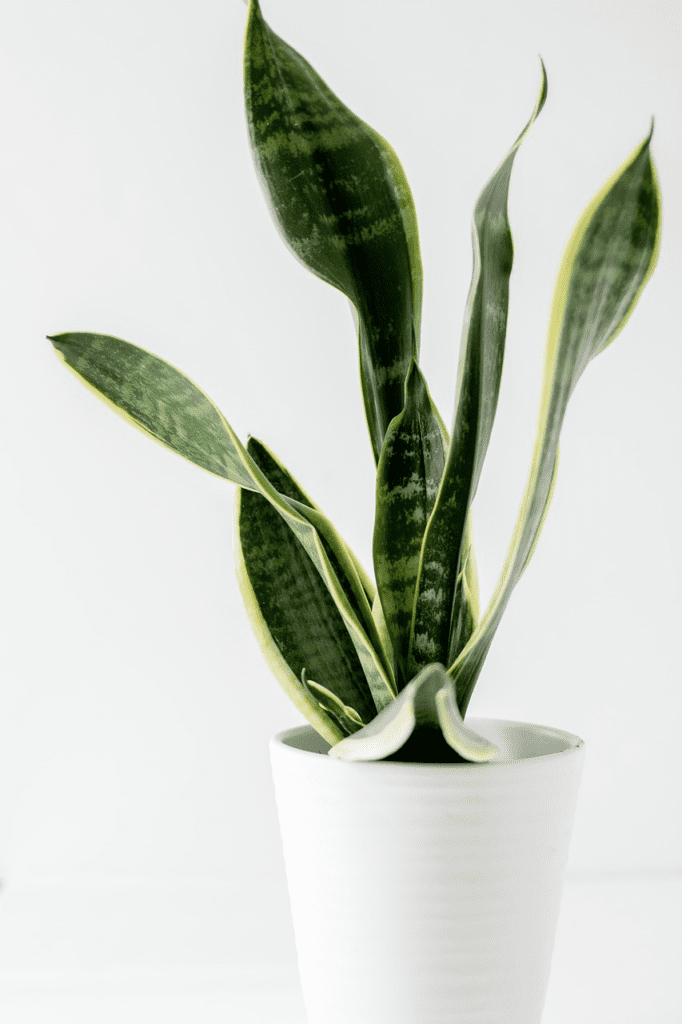
Repotting Snake Plant: A Quick and Easy Guide
Repotting snake plants, also known as mother-in-law’s tongue or Sansevieria, is an essential task for maintaining the health and longevity of this popular houseplant. Snake plants are known for their hardiness, low maintenance requirements, and air-purifying qualities. However, over time, the plant may outgrow its container, making repotting necessary for continued growth and vibrancy. Knowing when and how to repot your snake plant will ensure a successful transplant with minimal stress for both you and your plant.
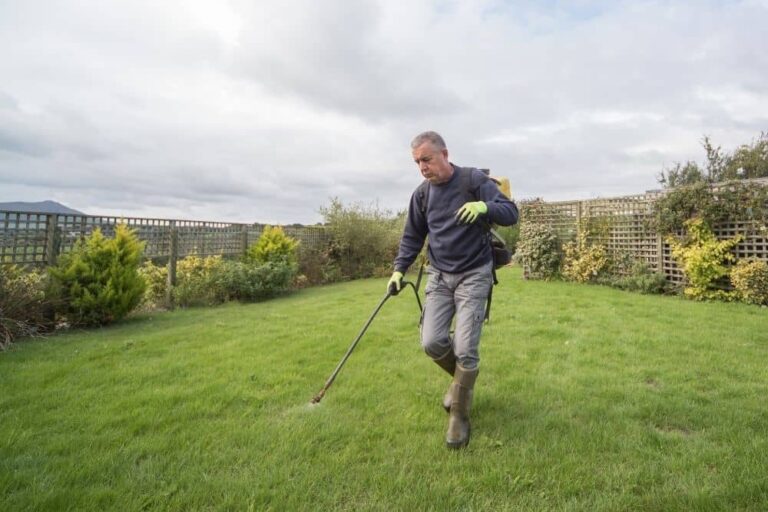
The best time for repotting snake plants is during the late winter or early spring, as this is when the plant’s growth is about to take off. The crucial factors to consider when repotting include selecting an appropriately sized pot, using well-draining soil, and carefully handling the plant’s roots to minimize damage. Following these guidelines will not only facilitate a smooth transition for your snake plant but also promote a healthy, thriving houseplant that will continue to enhance your indoor environment.
Table of Contents
Why Repotting Snake Plants Is Necessary
Repotting is an essential part of houseplant care, and snake plants are no exception. There are several reasons why repotting your snake plant is necessary, including outgrowing pots, root-bound plants, and the start of a new growing season.
Outgrown Pots
As your snake plant grows, it will eventually outgrow its current container. A larger pot is needed to provide enough space for the roots to expand and promote healthy growth. If a snake plant remains in a small pot for too long, it can become susceptible to root rot due to excess moisture being trapped in the limited soil.
Moreover, an outgrown pot may not have enough soil to hold sufficient water, which may cause the water to run out of its sides, negatively affecting your snake plant’s health 1.
Root Bound
Root-bound snake plants are when the roots have taken up most of the available space in the container, causing them to wrap around the inside of the pot. This can hinder the plant’s ability to take in water and nutrients, leading to stunted growth and potential root rot. Repotting a root-bound snake plant can refresh the soil, giving the roots room to spread out and allowing the plant to thrive.
New Growing Season
The late winter or early spring is the best time to consider repotting your snake plant, as this is when light is increasing, and growth is about to take off 3. Repotting during this time allows the plant to benefit from the fresh soil and additional space while experiencing a surge in growth during the season. Furthermore, this is also an excellent time for pruning snake plants, helping them become healthier and more visually appealing.
In conclusion, repotting snake plants is necessary to maintain their health and ensure optimal growth. Addressing concerns like outgrown pots, root-bound plants, and the start of a new growing season is essential in having a healthy, thriving snake plant in your home.
Choosing the Right Pot
When repotting a snake plant, choosing the right pot is crucial for its growth and overall health. In this section, we’ll discuss the factors to consider such as pot material, drainage holes, and pot size.
Pot Material
There are various materials available for pots, and each has its advantages and disadvantages.
- Ceramic: Ceramic pots are heavier, providing stability for larger snake plants. However, they can also be more expensive and fragile.
- Plastic: Plastic pots are lightweight, affordable, and easy to clean. They may be less stable for larger plants but offer better moisture retention, making them suitable for indoor plants.
- Terra Cotta: Terracotta pots are made from porous clay, providing excellent drainage and air circulation to the roots. They tend to be heavier than plastic pots and can help keep the plant upright.
Drainage Holes
Proper drainage is essential for repotting snake plants, as they are prone to root rot if overwatered. Ensure that the pot you choose has drainage holes at the bottom. If you prefer a decorative pot without drainage holes, consider using a plastic pot with drainage holes as an insert inside the decorative pot.
Selecting the Best Soil Mix
Drainage and Aeration
When repotting your snake plant, it’s essential to choose a soil mix with proper drainage and aeration to prevent overwatering and potential root rot. Snake plants, also known as Sansevieria, thrive in well-draining soil to avoid excess moisture around their roots. A well-draining soil mix will provide adequate airflow, which is vital for the plant’s overall health.
To enhance drainage and aeration, you can add perlite or pumice to your potting mix. Perlite is a lightweight, white volcanic glass that helps increase aeration and drainage, while pumice is a porous volcanic rock that has similar benefits. Remember to use a pot with drainage holes to complement the soil mix’s drainage properties. You should also consider the watering frequency of your snake plant, as overwatering can cause issues even with a well-draining soil mix.
Soil Components
The ideal soil for snake plants involves a blend of different components, providing the necessary nutrients and retaining enough moisture while still ensuring proper drainage. A recommended soil mix for snake plants consists of three parts all-purpose potting soil containing sphagnum peat moss, one part coarse sand or perlite, one part coco coir, and one part pine bark fines. Sphagnum peat moss and coco coir are organic materials that help retain moisture, while coarse sand, perlite, and pine bark fines improve drainage.
Alternatively, you can create a similar mix using cactus soil instead of all-purpose potting soil:
- 3 parts organic potting soil or cactus soil
- 2 parts perlite or pumice
- 1 part coarse sand
When selecting a soil mix, make sure the pH level is within the slightly acidic to alkaline range (5.5 – 7.5) for optimal growth conditions. Garden soil and compost are generally not suitable for snake plants, as they can retain too much moisture and have a more acidic pH level.
Choosing the best soil mix for your snake plant is crucial for maintaining its health during the repotting process. Prioritize a well-draining, aerated mix that has the necessary components for moisture retention and nutrient supply. By doing so, you’ll ensure the longevity and success of your snake plant and its pups.
Step-by-Step Guide to Repotting Snake Plant
Repotting your snake plants is essential to maintaining their health and encouraging growth. Here’s a step-by-step guide for repotting your snake plant with ease.
Prepare the Work Area
To start, find a well-lit area with access to indirect sunlight. Make sure you have the necessary tools handy, such as a knife, scissors, and rhizomes for propagation, if needed. It’s best to repot snake plants in early spring or late winter before new growth begins.
Remove Snake Plant from Old Pot
First, you need to remove your snake plant carefully from its old container. Turn the pot upside down and gently tap the bottom until the root ball slides out. Avoid grabbing the snake plant leaves directly; instead, focus on gently handling the root ball.
Inspect and Trim Roots
Once you’ve removed your snake plant from its old pot, inspect the roots for any signs of overwatering or damage. Use scissors or a knife to trim any brown or mushy roots, giving the snake plant a fresh start. During the inspection, you may also decide to propagate and divide your snake plant for additional growth.
Prepare the New Pot
Before transferring the snake plant, prepare the new pot by selecting the appropriate pot size and covering drainage holes with pebbles to prevent soil from falling out. Mix a suitable soil for repotting snake plants, combining 2 parts potting soil with 1 part perlite or pumice, and 1 part coarse sand, for an aerated, well-draining medium.
Transfer and Secure the Snake Plant
Gently place your snake plant into the new pot, ensuring it is planted at the same depth as it was in the old pot, and within 2 inches from the pot’s rim. Add or remove soil as needed to achieve the correct depth. Be cautious not to tamp the soil down too firmly.
Add Soil and Water
After transferring the snake plant, fill the remainder of the pot with the soil mixture. Keep the soil light and airy, avoiding compaction. Once the plant is securely placed, water the plant thoroughly to settle the soil and help alleviate transplant shock. Lastly, place your repotted snake plant back in its original location with access to indirect sunlight.
Remember to avoid fertilizing immediately after repotting, as the snake plant needs time to adjust to its new environment. Monitor your snake plant’s foliage for signs of distress, and adjust your care routine accordingly.
Post-Repotting Care
Watering
After repotting your snake plant, you should keep the soil slightly moist for the first few weeks to help the roots establish themselves in the new environment. During this time, it’s essential to avoid overwatering, as it can lead to root rot. Once you feel that the plant has settled in, gradually return to a normal watering schedule. Snake plants generally prefer to be on the drier side, so make sure to let the soil dry out between watering sessions.
Fertilizing
Snake plants are low-maintenance and can do well without fertilizer during the growing season. However, if you wish to encourage growth, you can give your newly repotted snake plant a boost by using a balanced, water-soluble fertilizer diluted to half strength. Apply the fertilizer once every two months during the growing season, but be sure to stop fertilizing during the winter dormancy period.
Light and Temperature Conditions
As houseplants, snake plants (Sansevieria trifasciata) do well in a variety of light conditions, from low light to bright indirect sunlight. However, they will typically grow best in bright, indirect light. Post-repotting, it’s essential to place your snake plant in a location that provides the appropriate lighting to support its growth.
Temperature-wise, snake plants prefer average room temperatures between 70 and 90°F (21-32°C). Avoid exposing your plant to cold drafts or sudden temperature drops, as this could cause stress and negatively impact its growth.
Addressing Issues
After repotting, it’s essential to monitor your snake plant for any potential issues. One common problem is yellowing leaves, which could indicate overwatering or poor water retention in the soil. If you notice yellow leaves, cut back on watering and ensure that the soil can drain properly.
Pruning any dead, damaged, or outgrown leaves is also important to keep your snake plant looking its best and promote healthy growth. After the repotting snake plant process is complete, if you’re interested in propagating your snake plant, you can also use the pruned leaves for propagation.
Maintaining the right humidity levels is important for the health of your snake plant, as they prefer moderate humidity. If your home is too dry or too humid, you may need to make adjustments to maintain optimal conditions for your plant.
By following these post-repotting care tips, your newly repotted snake plant will thrive and continue to be a low-maintenance, attractive addition to your collection of houseplants.