Learn to Identify Elephant Garlic
Elephant garlic is grown much the same as regular garlic, but it does need some more space between each bulb for proper growth. To grow elephant garlic, pick the healthiest, largest cloves. Push them into your nitrogen-rich, loose, well-draining soil, about two inches down. Cover each clove with soil and consider mulching to help retain water and protect your garlic from the elements.
To harvest elephant garlic, move the soil until you expose the bulbs. Gently pull up on the plant to release the bulbs. Lay them to dry in the sun for one or two hours before storing.
How is Elephant Garlic Different?
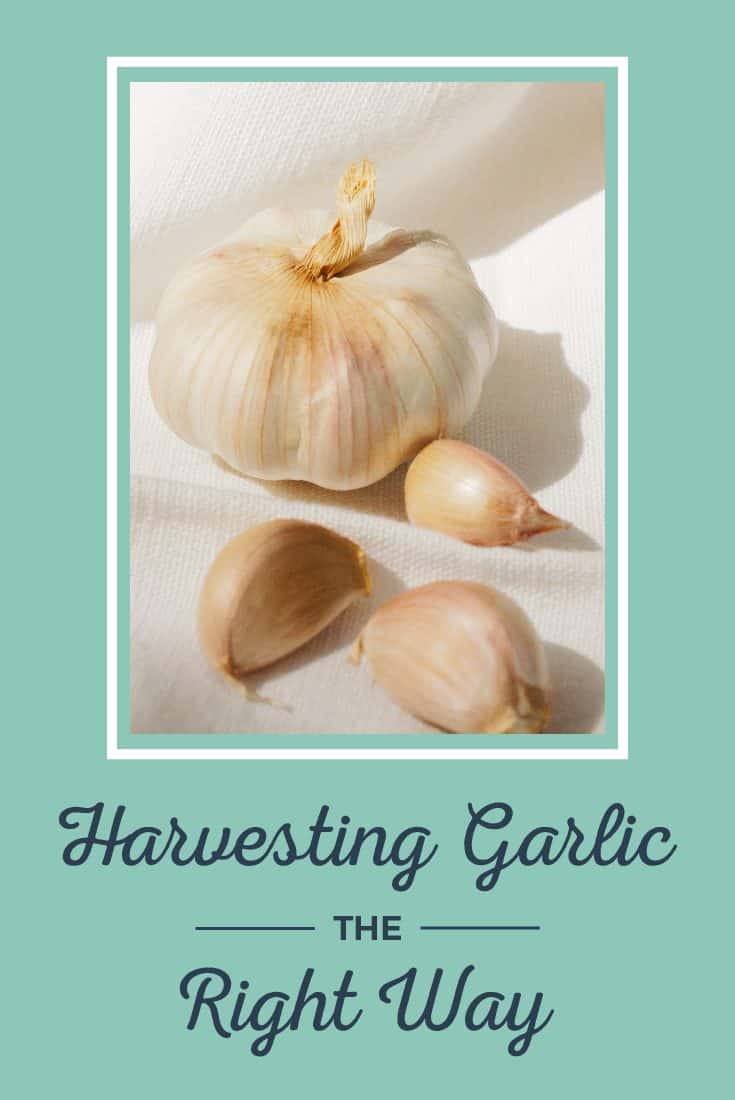
Elephant garlic is actually more related to the leek family than garlic, but it has a garlic flavor and looks like an over-sized garlic bulb, hence its name. Elephant garlic bulbs can be as large as one’s hand, with about five to six large cloves in each bulb.
Since elephant garlic is much bigger than other garlic varieties, you should plan on having some more space in your garden for growing elephant garlic. Its plants get taller and bulbs get bigger in the ground.
This video by LearnHowToGarden shows the massive size difference between regular and elephant garlic cloves and also teaches some handy tips for growing your own:
Choose Your Bulbs Wisely
Elephant garlic, as with most garlic, grows best when you purchase it from a trusted seed supply or local farmer’s market or supply. Those purchased from the grocery store are usually treated with chemicals to slow growth, so they don’t tend to fare well for gardening.
Inspect each bulb for signs of disease, rotting, or bruising. These should not be used to plant. Each clove on the bulb should also have plenty of dry wrappers covering them and should feel firm to the touch. The cloves should still be fully attached to the stem.
Prepare Your Elephant Garlic, Soil, and Bed
You’ll need to crack your elephant garlic before planting, or separate the cloves from the garlic stem. To do this, gently push on the top of the garlic bulb so that the cloves begin to separate. Gently pull each one away from the stem and each other, leaving the wrappings intact. Be careful not to bump or drop them, as this will cause bruising and render the cloves useless.
Again, inspect each clove individually for signs of disease, rotting, or bruising. Do not use these for planting.
Elephant garlic needs an area to grow that gets plenty of sunlight. Its soil should be well-draining, loose, and have a nitrogen source mixed in, such as a nitrogen-rich fertilizer. GardeningKnowHow also suggests adding some peat moss to the soil for added ability to hold in nutrients and retain water.
Many garlic gardeners use raised planting beds to aid in water drainage and to build up the proper soil supply, which helps keep soil free of rocks and weeds. You can create a bed six to eight inches high. Its size depends on the amount of garlic you want to plant and how much room you have in your garden. You should allow for at least four inches of space between each garlic clove.
Plant Your Elephant Garlic
To plant your elephant garlic, you can push each one gently into the soil about two inches down, with the flat base down and the pointed end up. The pointed end is where your sprouts will begin to emerge through the soil and the base produces the rooting system for the garlic bulb.
If you have any smaller cloves, you can plant a few of them together in a group to form one bulb, or use them for cooking instead.
Keep at least four to six inches of space between your garlic cloves. If you crowd them, they’ll begin competing for each other’s nutrients and water supply and, eventually, the sun once sprouts begin to form.
Once you’ve pushed each clove into their spots, use your hands to cover them back up with soil, making sure each hole is re-covered loosely by soil on top. If your soil is dry, lightly water so it’s moist, but not wet.
You can mulch your garlic bed with a layer of straw to help regulate the soil temperature, protect your garlic against winter frost, and retain adequate soil moisture.
How to Care for Elephant Garlic
Every few days, check your mulch layer and the soil for moisture. Water as appropriate to keep your soil moist. You should also check for weeds regularly and remove these as needed.
When you mulch over garlic, sometimes the sprouts and leaves can become trapped underneath the mulch layer. If this happens, gently pull them through the mulch so they can grow through. If you see flowers beginning to form on the leaves, cut them off so they do not steal much-needed energy from your growing garlic bulbs.
You may want to fertilize your garlic once or twice through the growth process. Use a nitrogen-rich, organic fertilizer sparingly.
In the spring, your garlic’s leaves should begin to dry out. This is a sign that you should stop watering your garlic, as it’s nearing maturity. Too much water at this point can cause your garlic bulbs to rot.
Harvesting Elephant Garlic
Once your garlic leaves have completely dried out, it is time for your plants to be harvested. You can easily harvest garlic by carefully moving the soil around the base of the leaves until you expose some of the garlic bulb. Gently lift the plant by the base of the leaves and pull out your garlic bulb. Make sure you are careful not to drop or bump the bulbs and try to leave as much of the wrappers intact as possible.
You should leave the bulbs laying in the sun for an hour or so to dry the wrappers and help to remove any wet, caked-on soil from the wrappers. This helps to prepare the bulbs for storage throughout the coming months.
Related – Containers for Garlic
Photo by Dave Whitinger licensed under GNU 1.3..


