How to Care for Calla Lily Indoors
Calla lilies are super easy to grow and add an elegant look to container plantings, perennial gardens, and cutting gardens. These unique flowers come in many striking colors, including dark maroon, lavender, rose, yellow, pink, orange, and classic white, a favorite for weddings.
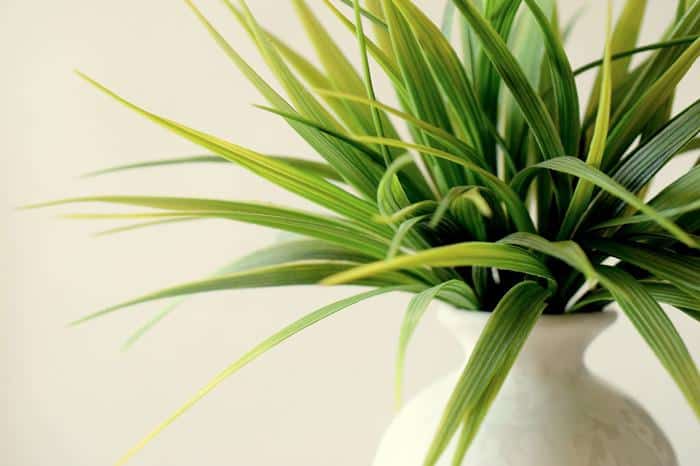
The plants have velvety, sword-like petals and leaves, often sprinkled with white freckles. The Calla lily foliage looks attractive and neat throughout the entire season, both before and after the plants bloom. Whether in a vase or the garden, fresh calla lilies are always exciting and beautiful to look at.
We have put togther this article, to guide you on how to take proper care of your Calla lily flowers and maintain them so that they look perfect all year round.
Calla lilies:
Calla lilies are elegantly shaped flowers sought after by many people for beautiful home gardens, unique occasion bouquets, and especially for wedding arrangements and decor. The flowers come in various colors, from pale pink and white to deep maroon and burgundy, with some recent crossbreeds in dramatic colors like black and bright orange. They are long-lasting blossoms and are famous for floral wedding decor.
When sowing calla lilies, plant them during the springtime. They mature unreasonably fast, often blooming by early or mid-summer and flowering throughout the entire season until fall. Originating in Africa, the calla lilies grow in humid temperatures but can sometimes be aggressive, especially in California and Australia.
All parts of the Calla lilies are toxic to animals and humans.
How to successfully grow Calla lilies:
Calla lilies are super easy to grow.
Sun and Shade: In warm weather, calla lilies grow healthier in partial shade or full sun. In colder areas, they grow better in full sun.
Zones: Calla lilies can withstand cold winters in zones 8 to 10. In much cooler areas, they can either be grown annually, or you can dig them up during the fall and store them inside the house for relocating during the following spring.
Time to Plant: You should plant the Calla lilies in the spring after the danger of frost has gone. You should wait until the ground has warmed to around 65°F or more in colder climates. For an edge, you can plant the shoots of the Calla lilies in indoor pots for about a month before replanting them into your garden.
Where to Plant the Calla Lilies:
Borders and Flowerbeds: Depending on the cultivar, these flowers grow between 1 to 2 feet tall. This makes them a great option for the middle or front of a flowerbed or a garden. The dotted foliage looks eye-catching throughout the whole season.
Cutting Gardens: Calla lilies are amazing for bouquets. They are simple and easy to assemble and can last up to a couple of weeks in your vase with the correct watering. Planting calla lilies in your cutting garden will allow you to grow a wide variety of attractive colors and have lots of flowers for bouquets for any occasion or simply for your vases!
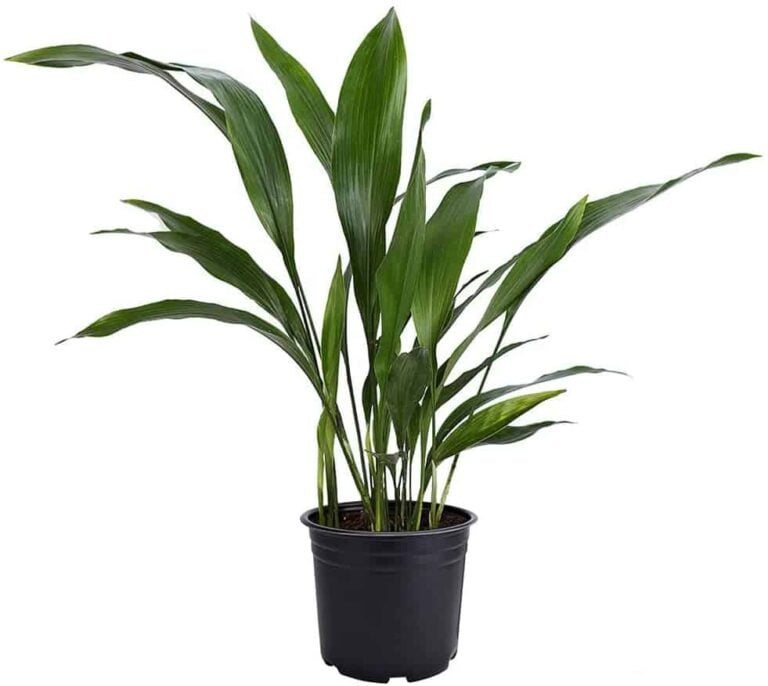
Containers: Calla lilies grow well in planters and pots. They can be assorted with other annuals but typically perform better in their own pot. These flowers will last for weeks under the proper care.
Calla Lily Care:
Calla lilies are tropical flowers that grow quickly outdoors in zones 8 to 10. Calla lilies will decay during the summers and regrow every year, but in the colder regions, you must plant calla lilies as an annual. You should reconstruct this plant’s natural environment with moisture, warmth, and light to keep the calla lilies healthy.
These flowers grow from shoots rather than a bulb, which is a critical sign that they’re not true lilies. Like other flowering shrubberies, fertilizer encourages the calla lilies’ flower growth.
Light:
Due to their tropical nature, the calla lilies thrive in a warm atmosphere, which includes plenty of light. If your area has a humid and hot summer climate, your calla lilies could do better in a spot with shade. The calla lilies can handle full sun if your area has a more moderate summer climate.
Soil:
A well-drained, moist, rich soil is best to keep your calla lilies flourishing. Calla lily plants often do well growing beside ponds and can gladly endure a damp soil area. However, you must avoid allowing these flowers to become too saturated, or it might lead to root rot in the plants.
Water:
Once the shoots have developed, you can water the calla lilies weekly or more often if your area is experiencing drought-like or scorching climate conditions. Calla lilies planted inside will need constant humidity, as the pots tend to dry out sooner than those produced in the ground.
Humidity and Temperature:
Calla lilies like a relatively hot and humid atmosphere and temperatures between 60°F to 80°F. They also enjoy a sufficient amount of moisture and humidity, so tropical summers bring glorious blooms. When the temperatures drop below 50°F, the Calla lily plants become dormant — digging up the stems for hibernation before the freezing temperatures strike would be best. Frost can kill the Calla lilies.
Fertilizer:
Calla lilies need nourishment during and after planting and each spring at the start of the growing season to promote abundant flowering. Most well-balanced composts will work perfectly. You should not choose a very nitrogen-heavy blend, or it can reduce the plant’s blooms.
Types of Calla Lily:
Most calla lily flowers are white with a yellow throat, also known as a spadix. The white ones are frequently listed under their botanical name, Zantedeschia aethiopica. They are the toughest and the largest of all the calla lily types. Cultivars of the white calla lily plants have been established in various colors, although they are slightly smaller.
Given below are some of the types of these stunning flowers:
Zantedeschia’ Edge of Night’: The flowers of this variety range from dark purple to black and bear a striking resemblance to black velvet.
Zantedeschia’ Red Alert’: This plant has red and bright orange flowers blooming from May to August.
Zantedeschia ‘Picasso’: This variety attributes white flowers with a purple spadix.
Zantedeschia’ Sunshine’: This plant showcases dazzling yellow blooms.
Pruning:
Calla lilies don’t need regular trimming, but you should pull off wilted parts of the flowers. Removing these parts of the plant will not destroy it. You can use sterilized pruning shears or pinch the stems below the flower base with your fingertips to prune the plant. If you reside in warmer areas, when the plant dies back at the end of the maturing season, clip it down evenly against the soil and eliminate the rubbish. During the springtime, the plant will grow again. We recommend you wear gloves to protect your hands when working with the calla lilies and avoid touching the sap that oozes out of the plant.
Propagating Calla Lily:
Calla lilies can be bred by growing the plant from seeds or dividing rooting structures or stems. Calla lilies mature into large bunches of flowers, and you can divide the clusters into separate shrubberies. Plants grown from shoots or stems will flower much earlier than plants grown from seed.
Growing Calla Lilies from Seeds:
It can take approximately three years for a seed-planted calla lily to bloom entirely. The seeds must be grown beforehand, which can be done by dispersing the calla lily seeds on a moist paper towel and wrapping them. You then have to place the paper towel and the seeds in a cool location, like a cellar or basement. After some days, look for any signs of growth. Remove any seeds that do not show indicators of life.
Put the seeds in high-quality soil in a well-draining potting container. Keep the soil damp and observe for growth. Watch the calla lily plants for several weeks and eradicate the weakest sprout from each pot. You only require one seedling per pot.
Growing Calla Lilies from rhizome:
We’ve explained to you how to divide a calla lily rhizome for breeding:
If your calla lily is planted in the earth in your garden, you will need a pitchfork or shovel to pull up the stems. If you have planned to keep your plant warm indoors, you’ll need a clean pot and potting soil.
Use the pitchfork or shovel to cut a loop around the calla lily roots to make it simpler to pull out.
Once you’ve pulled out the clumped calla lily roots, brush off the soil from the shoots and place it in a well-ventilated, shady area for a couple of days. Do not water it or make it wet.
Once completely dried out, use a sharp blade to separate the roots. They don’t need to separate precisely where they connect but ensure that each part of the rhizome has at least one root or eye growing from it.
You can replant the rhizome in a fertilizer-enriched garden bed about six inches from other flowers or place it in a potting bowl with well-draining, moist soil. Or you can even store the rhizomes during the winter.
Repotting Calla Lilies:
One indication that the calla lilies are prepared for a larger pot is when the roots start to appear crowded. Calla lily plants bounded by their roots do not bloom, so you must replant them when you notice a problem with their roots. You must acquire a pot around two to three inches wider and deeper than the old pot.
To report your calla lilies, gently lift the flowers out of their original pot and carefully place them into the bigger one, minding not to injure the fragile roots. Fill up the bigger pot with soil. Keep it constantly damp for a couple of days after transplanting. Ensure that the soil is not waterlogged or soggy.
Terracotta pots are an excellent choice for the calla lilies since the porous material of the pot allows water and air to pass through its walls, encouraging healthier plants by preventing overwatering. However, the soil in these clay pots dries out faster, so frequent watering is required.
Overwintering:
If you reside in a zone cooler than 8, you can unearth the rhizomes and overwinter them or buy new ones each planting season. Once you pull up a rhizome, carefully brush off the remaining soil. Do not water or wash the calla lily rhizomes, which can cause fungal root decay.
Cut off the undergrowth from the top of the stems. Allow the stems and roots to dry in a well-ventilated, warm place for about a week. This is essential for calla lily care in the winters as it allows the outer layer of the rhizome to cure.
After the rhizomes have entirely dried, wrap them separately in paper or place them in a paper bag. Store them in a cool area, like a basement, cellar, or garage.
Common Pests and Diseases:
To decrease the risk of fungal illnesses, avoid overwatering the calla lilies and plant your plants far apart to have sufficient air circulation.
Various bugs can also be a problem for calla lily plants, including insects like spider mites, aphids, and slugs. You must treat the plants with horticultural oil like neem oil or mild insecticidal soap to combat these issues.
Problems with Calla Lilies:
Calla lilies are generally easy to grow. Other than routine water, they do not require much care. However, they may suffer if their developing and maturing needs aren’t fully met.
Brown Edges of Leaves:
If you observe the edges of the Calla lily leaves turning brown, it may indicate that the fertilizer you use has too much nitrogen. If your plant matures rapidly and looks flourishing but has brown-edged leaves, it will likely not bloom. So use fertilizers that have a mild nitrogen content.
Stunted Growth, Wilting, or Yellowing Leaves:
If the Calla lilies are not getting sufficient water, they will look stunted, might not bloom, and the leaves will appear wilted and yellowed. You must water the calla lilies frequently to encourage flowering and keep their foliage healthy; lack of sunlight can also cause stunted development.
Now that you’re aware of the dos and donts of growing these beautiful flowers and what possible issues you may encounter, it’s time to plant some eye-catching flowers in your garden!