How to Propagate Pilea Plants

Want to properly propagate pilea plants? When it comes to growing houseplants, the Pilea Plant is one of the most popular options. This type of plant is known for its vibrant green foliage, low-maintenance care requirements, and ease of propagation. If you’re looking for a new houseplant to bring life to your living space, you can’t go wrong with a Pilea Plant. However, it is important to understand how to properly propagate pilea plants to ensure you have a never-ending supply of these amazing plants.
In this article, we’ll go over the basics of Pilea Plants and provide step-by-step instructions on how to propagate them. By learning how to propagate your Pilea Plant, you can enjoy an even larger collection of these gorgeous houseplants without having to buy new ones. Read on to learn more about Pilea Plant propagation.
What Is a Pilea Plant?
Pilea Plants are native to parts of South and Central America, and they are part of the Urticaceae family. These charmers are known for their distinctive green foliage and their ability to be propagated easily. Pilea Plants are also often referred to as friendship plants, as they are known for being gifted from one person to another.
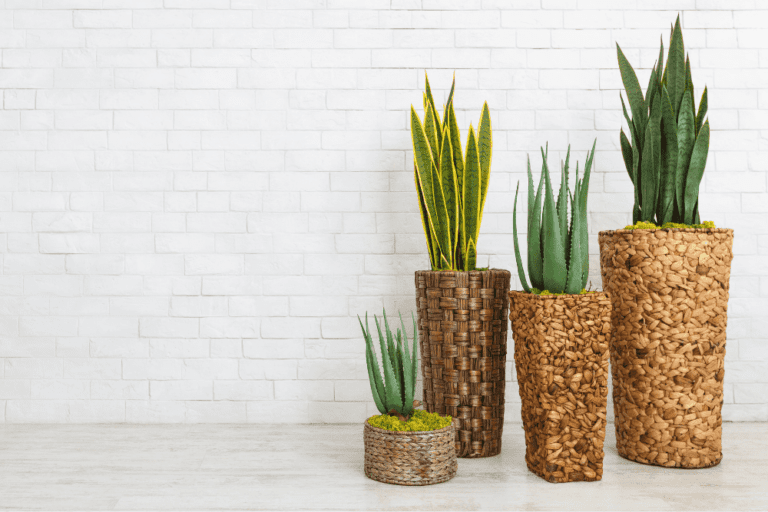
The Pilea Plant is relatively low-maintenance and can thrive in a variety of environments. They do best in bright, indirect light, but can tolerate lower light levels as well. Pilea Plants should be watered when the top inch of soil is dry, and they should be fertilized with a light fertilizer every two weeks during the growing season.
How to Propagate a Pilea Plant
Propagating a Pilea Plant is a relatively easy process, and it’s a great way to increase your collection of these gorgeous plants without having to purchase new ones. Here’s a step-by-step guide on how to propagate your Pilea Plant:
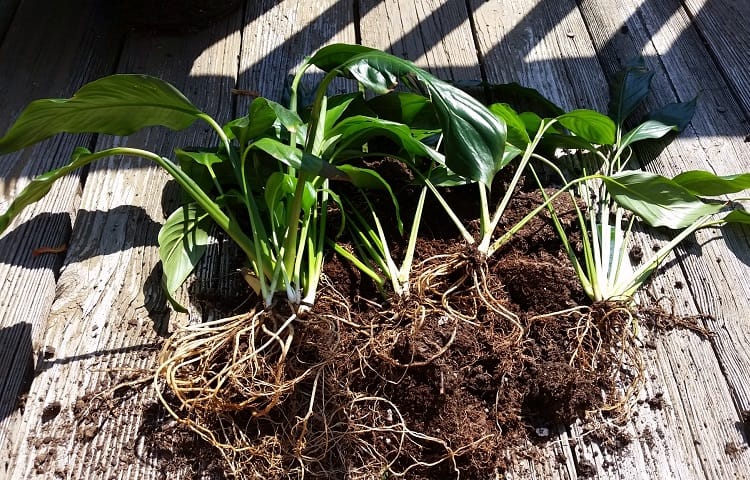
1. Choose a Healthy Plant: Start by selecting a healthy Pilea Plant for propagation. Look for a plant with thick, vibrant green leaves and no signs of disease or pests.
2. Remove a Leaf: Carefully remove a single leaf from the plant. Make sure to grab the leaf at the base of the stem to ensure that you take the entire leaf.
3. Place the Leaf in Water: Place the leaf in a jar of clean water and set it in a place with bright, indirect light. Make sure to change the water every few days to keep the leaf healthy.
4. Prepare the Soil: While the leaf is rooting in water, prepare a pot with well-draining soil. Fill the pot with soil and make sure it is lightly damp before planting.
5. Plant the Leaf: Once the leaf has rooted in water, it’s time to plant it in the pot. Gently place the leaf in the soil, making sure to cover the root with soil.
6. Care for the Plant: After planting the leaf, water the soil lightly and place the pot in bright, indirect light. Make sure to keep the soil lightly moist and fertilize the plant every two weeks during the growing season.
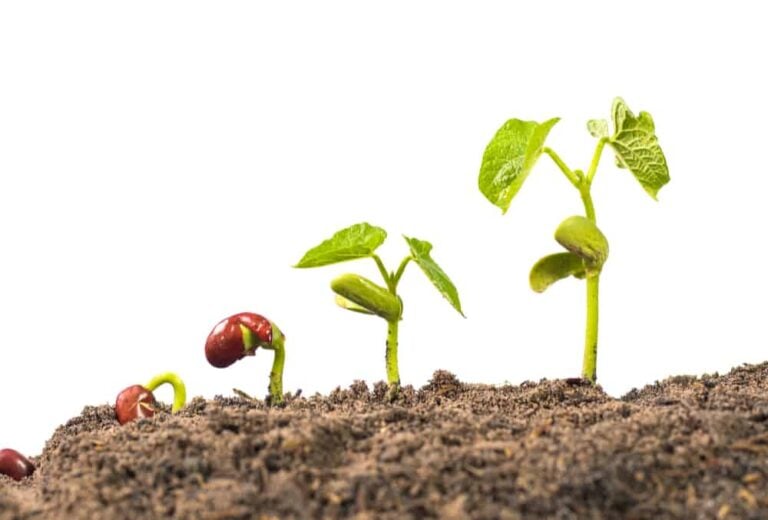
7. Enjoy Your New Pilea Plant: With patience and proper care, your new Pilea Plant will start to grow in no time. Enjoy watching your new plant thrive!
By following these steps, you can easily propagate your Pilea Plant and enjoy an even greater collection of these gorgeous houseplants. Propagating your Pilea Plants is a great way to enjoy a larger collection without having to purchase new plants.
Conclusion
Pilea Plants are a great choice for houseplants, as they are low-maintenance and easy to care for. These plants can also be propagated easily, meaning you can increase your collection without having to purchase new plants. By following the steps outlined in this article, you can easily propagate your own Pilea Plant and enjoy a larger collection of these gorgeous houseplants.